SaaS users can skip this step. Store Locator Plus® for WordPress plug-in users need a Google API key to utilize the full features available in the the plugin. WordPress administrators who are self-managing their plugin updates, security, and Google services need to setup a Google API account so they can start billing for map services.
If you are a subscriber to Store Locator Plus® – our SaaS directory and locator service, you can ignore this page, we’ve got it covered. Go to our Getting Started guide and move on to Step 2.
For the Store Locator Plus® for WordPress users these instructions are a general guideline. You will need to visit the Google developers page and read their User guide to obtain a new account or update your existing account. Google will bill you directly for your monthly map views and location look-ups.
If you are using the WP plug-in you need to Obtain The Google Maps API Key
Before you get started you will need to get a Google Maps API Key. Please note, there are some misleading instructions in the Google developer console telling you to restrict your API key when you move your site to production. The recommended way to do this for the majority of our WP SLP customers is to add HTTPS referrer and add a geocoding key. The two key approach is available for version 4.9.15.
Step 1: Note this page may have changed over time
Go To the Google Developer Site
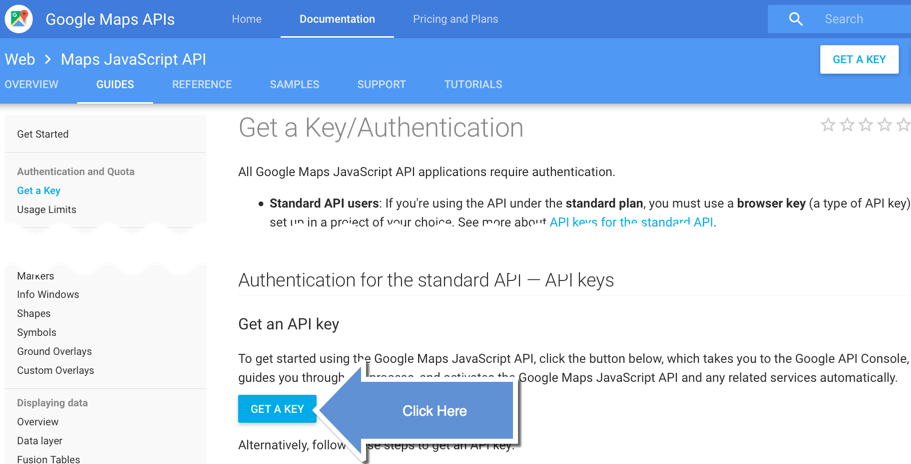
Step 2: Select “Create A Project” at the Google API Keys
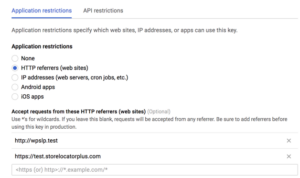
Step 3: If you wish to restrict: Enter your website info at Google.
Step 4: Copy your browser API Key(s).
More info in May 30 2018 news release
API Key To Store Locator Plus
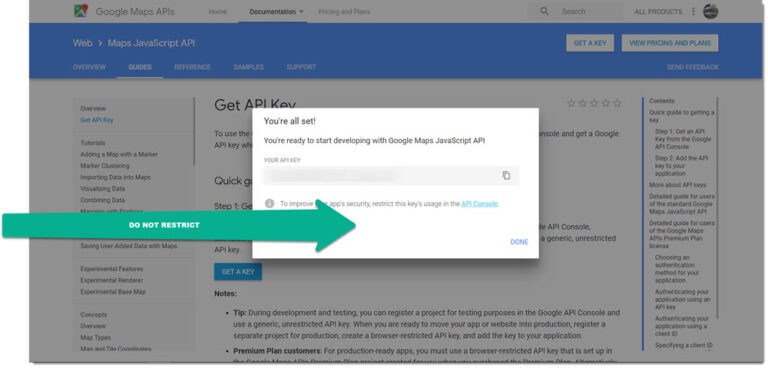
Enter the API Key in the Google API Server Key field under the OPTIONS/ APP tab. Note: Do not add any “restrictor”. Ignore that second set of instructions under the google Developer documentation. if you restrict your browser API, visitors to your site will not be able to see the locations. what you can do is add HTTP referrers and then obtain a Geocoding API key:
Legacy Information
Setup A Google Maps Javascript API Key
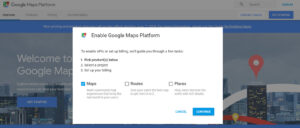
You do not need to include any additional restrictions but if you do then you will also need a second unique key to add in the field under the SLP/General APP settings called the Geocoding API key. Updates to how Google APIS are deployed and the explanation can be found in Google Platform When you create your project , obtain your Maps Javascript API . The geocoding API is contained under the “Places” API. The APIS you will need are now contained under Maps, and Places. Check to see that both boxes are enabled for your project. View the support documents under Google Product updates for more information as the Google documentation is updated and may supercede the instructions or screenshots contained in this document. The APIS you need for WPSLP to work properly are the two in the screenshot below, referred to as Maps Javascript and geocoding (not to be confused with geolocation). The Geocoding API converts addresses into geographic coordinates (geocoding), which you can use to place markers or position the map. This API also allows you to convert geographic coordinates into an address (reverse geocoding).
Step 1: Go To the Google Developer Site
Step 2: You will need a Google account to continue. Select “Create A Project”
Step 3: Enable check off both Maps and Places , the geocoding API is now under Places

Enter your website info/ credentials at Google.
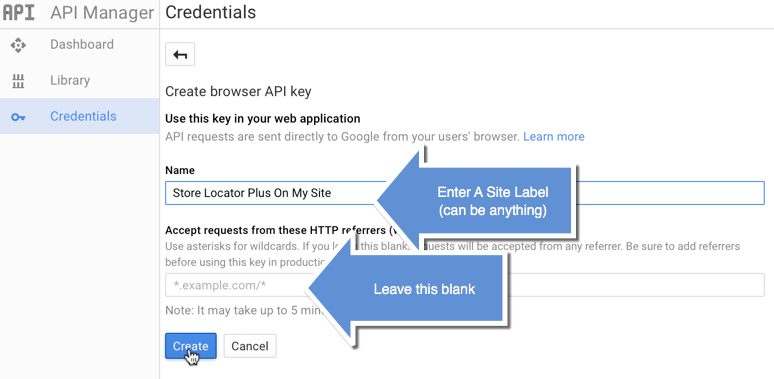
Step 4: Copy your API Key(s) and paste in the designated field(s) under the SLP/General/Server fields.
Add The API Key(s) To Store Locator Plus
Enter the API Key under the OPTIONS/ APP (as of SLP v 2505) tab labeled “Google Browser key”. Make sure there are no spaces before the first character. If you have obtained a separate Geocoding key to use with your restricted browser key , enter in the field labeled accordingly.

